
Brown Butter Chocolate Chip Cookies take classic cookies to the next level! The secret? Browning the butter enhances its rich, nutty flavor, creating a deeper, more irresistible taste. These cookies are perfectly chewy, slightly crispy on the edges, and packed with gooey chocolate in every bite. Whether you’re a cookie lover or baking for a special occasion, this recipe is a must-try. Get ready to enjoy bakery-style cookies right at home with this easy and delicious recipe!
What Are Brown Butter Chocolate Chip Cookies?
Brown Butter Chocolate Chip Cookies are a rich and flavorful twist on the classic chocolate chip cookie. The key difference lies in the brown butter, which is made by gently cooking butter until it turns golden brown and develops a deep, nutty aroma. This simple step enhances the cookies with a caramel-like flavor, making them more complex and indulgent.
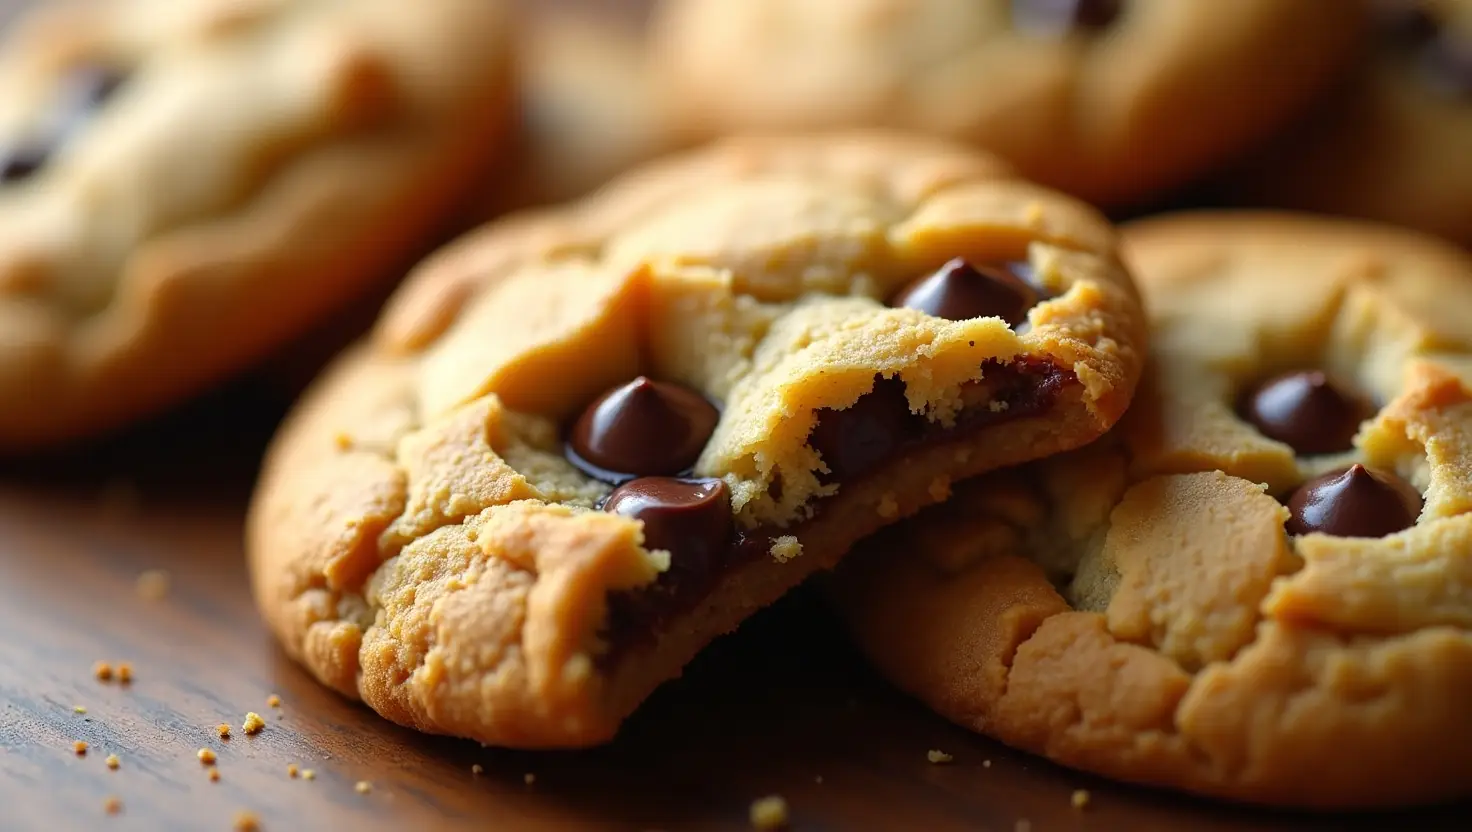
These cookies have a perfect balance—crispy edges, a soft and chewy center, and pools of melty chocolate in every bite. The browned butter not only intensifies the taste but also adds a slight toasty richness that makes them irresistible. Whether enjoyed fresh out of the oven or with a glass of milk, Brown Butter Chocolate Chip Cookies are a game-changer for cookie lovers!
Essential Ingredients for the Best Brown Butter Cookies
To achieve the perfect Brown Butter Chocolate Chip Cookies, you need a combination of high-quality ingredients that enhance flavor and texture. Here are the must-have ingredients:
- Butter – The star of the recipe! Browning the butter adds a rich, nutty, and caramel-like flavor. Use unsalted butter for better control over salt levels.
- Brown Sugar – Adds moisture and chewiness while enhancing the deep, caramel notes from the brown butter. Dark brown sugar provides a richer taste.
- Granulated Sugar – Helps create crispy edges and balances the sweetness.
- All-Purpose Flour – Provides structure and stability to the cookies. Measuring accurately ensures the right consistency.
- Baking Soda – Gives the cookies a slight lift and helps create that chewy texture.
- Salt – Enhances the overall flavor and balances the sweetness.
- Eggs – Bind the ingredients together and contribute to a chewy texture.
- Vanilla Extract – Complements the nuttiness of the brown butter and adds depth to the flavor.
- Chocolate Chips or Chunks – Use high-quality chocolate for the best taste. Semi-sweet or dark chocolate works well for a balanced sweetness.
- Optional Add-Ins – Chopped nuts, sea salt flakes, or a pinch of cinnamon can add extra texture and flavor.
Using these essential ingredients in the right proportions ensures your cookies turn out perfectly chewy, flavorful, and utterly delicious!
Choosing the Right Butter for Browning
The type of butter you use plays a crucial role in achieving the best brown butter for your Brown Butter Chocolate Chip Cookies. Here’s what to consider when selecting butter for browning:
1. Unsalted vs. Salted Butter
- Unsalted Butter – The best choice for browning, as it allows you to control the salt in your recipe. It also has a purer butter flavor.
- Salted Butter – Can be used, but the salt content varies by brand, making it harder to regulate the final taste.
2. High-Quality Butter Matters
- Choose European-style butter (like Kerrygold or Plugrá) if possible. It has a higher butterfat content (82% or more), which results in a richer, creamier brown butter.
- Regular butter works well too, but lower-quality butter may have more water content, affecting the browning process.
3. Why Butterfat Percentage is Important
- The higher the butterfat, the more flavorful and aromatic your brown butter will be.
- Lower-fat butter contains more water, which can make the browning process uneven and take longer.
4. Grass-Fed Butter vs. Conventional Butter
- Grass-fed butter (like Kerrygold) has a deeper yellow color and a richer taste, enhancing the nutty flavor of brown butter.
- Conventional butter works fine but may have a milder taste.
By choosing high-quality, unsalted, European-style butter, you’ll get the richest, most flavorful brown butter, making your cookies even more irresistible!


Step-by-Step Guide to Browning Butter Perfectly
Browning butter is the key to unlocking a deep, nutty flavor in your Brown Butter Chocolate Chip Cookies. Follow these simple steps to get it just right:
Step 1: Choose the Right Pan
Use a light-colored saucepan or stainless steel pan. This helps you clearly see the color change as the butter browns, preventing burning.
Step 2: Melt the Butter
- Cut unsalted butter into small pieces for even melting.
- Place it in the pan over medium heat and let it melt completely.
Step 3: Stir and Watch Closely
- Once melted, the butter will start to bubble and sizzle as the water evaporates.
- Stir continuously with a heatproof spatula or whisk to prevent burning.
Step 4: Look for Color Changes
- After a few minutes, the milk solids will begin to turn golden brown and sink to the bottom.
- You’ll notice a nutty, caramel-like aroma—this is when the magic happens!
Step 5: Remove from Heat
- Once the butter turns a deep amber color with brown specks, remove it from the heat immediately.
- If left too long, it can burn and taste bitter.
Step 6: Cool Before Using
- Transfer the brown butter to a heatproof bowl to stop the cooking process.
- Let it cool slightly before adding to your cookie dough to avoid melting the other ingredients.
Now, your perfectly browned butter is ready to take your chocolate chip cookies to the next level with its rich, nutty depth of flavor!
How to Properly Incorporate Brown Butter into Your Cookie Dough
Using brown butter in your chocolate chip cookie dough adds incredible depth of flavor, but it must be incorporated correctly for the best texture. Follow these steps to ensure your cookies turn out perfectly chewy and delicious.
Step 1: Cool the Brown Butter
After browning the butter, transfer it to a heatproof bowl and let it cool for about 10–15 minutes. This prevents it from cooking the eggs or making the dough too greasy.
Step 2: Scrape Up the Brown Bits
The flavorful brown bits at the bottom of the pan contain nutty, caramelized goodness—don’t leave them behind! Scrape everything into your mixing bowl for maximum flavor.
Step 3: Combine with Sugars First
- Whisk or beat the slightly cooled brown butter with brown sugar and granulated sugar.
- This helps dissolve the sugars and creates a smooth texture, making the cookies chewier.
Step 4: Add Eggs and Vanilla
- Beat in eggs one at a time, ensuring they fully incorporate into the mixture.
- Stir in vanilla extract to enhance the rich, nutty flavor.
Step 5: Mix in Dry Ingredients Gradually
- In a separate bowl, whisk together flour, baking soda, and salt.
- Slowly add the dry ingredients to the wet mixture and mix gently to avoid overworking the dough, which can make cookies tough.
Step 6: Stir in Chocolate Chips
- Once the dough is well combined, fold in chocolate chips or chunks.
- For extra chocolatey pockets, use a mix of semi-sweet and dark chocolate.
Step 7: Chill the Dough (Optional but Recommended)
- Cover the dough and refrigerate for at least 30 minutes to 24 hours.
- Chilling allows flavors to deepen and helps create a thicker, chewier cookie.
Now your brown butter cookie dough is ready to bake into the most flavorful, chewy chocolate chip cookies!
Choosing the Best Chocolate for Your Cookies
The right chocolate makes all the difference in Brown Butter Chocolate Chip Cookies. Here’s how to choose the best one for the perfect balance of flavor, texture, and richness.
1. Chocolate Chips vs. Chocolate Chunks
- Chocolate Chips – Designed to hold their shape, they provide small pockets of chocolate in every bite. Ideal for a classic cookie texture.
- Chocolate Chunks – Melt more evenly, creating gooey pools of chocolate throughout the cookies. Great for a richer, bakery-style result.
- Chocolate Bars (Chopped by Hand) – Offers the best of both worlds—irregular chunks and flecks of chocolate spread throughout the dough.
2. Best Types of Chocolate to Use
- Semi-Sweet Chocolate (50–60% cocoa) – A balanced option with the right amount of sweetness and chocolatey depth.
- Dark Chocolate (60–75% cocoa) – Adds a deeper, slightly bitter contrast that pairs perfectly with brown butter’s nuttiness.
- Milk Chocolate (30–40% cocoa) – Sweeter and creamier, ideal if you prefer a milder chocolate taste.
- White Chocolate – Not technically chocolate, but adds a sweet, creamy contrast to the nutty brown butter.
3. Quality Matters
- Use high-quality chocolate for the best flavor. Brands like Guittard, Ghirardelli, Valrhona, and Callebaut offer premium options.
- Avoid waxy, low-quality chocolate chips that don’t melt well.
4. Mixing Chocolate for the Best Texture
For the ultimate cookie experience, try a mix of chocolates:
- Semi-sweet + dark chocolate chunks for depth and richness.
- A blend of chips and hand-chopped chocolate for a mix of gooey centers and chocolatey pockets.
- Sprinkle flaky sea salt on top to enhance the chocolate’s boldness.
With the right chocolate choice, your brown butter cookies will have irresistible flavor and the perfect melty texture in every bite!
Perfecting the Dough Consistency
Achieving the perfect dough consistency is key to making Brown Butter Chocolate Chip Cookies that are chewy, soft, and packed with flavor. Follow these steps to ensure your dough turns out just right.
1. Balance Wet and Dry Ingredients
- If the dough is too wet, your cookies may spread too much. Gradually add more flour (1 tablespoon at a time) until the dough holds its shape.
- If the dough is too dry or crumbly, add a teaspoon of milk or an extra egg yolk to increase moisture.
2. Mix Just Until Combined
- Overmixing the dough can develop too much gluten, making cookies tough.
- Stir in the flour mixture until just incorporated—stop as soon as no streaks of flour remain.
3. Allow the Dough to Rest
- Let the dough sit for 5–10 minutes after mixing. This gives the flour time to absorb moisture, helping achieve a smooth, even consistency.
4. Chill the Dough for Better Texture
- Refrigerate the dough for at least 30 minutes to overnight to:
- Prevent excessive spreading.
- Enhance the nutty, caramel flavors.
- Create a thicker, chewier cookie.
5. Check for the Right Texture Before Scooping
- The dough should be slightly sticky but firm enough to hold its shape when scooped.
- If the dough is too soft, chill it longer. If too stiff, let it sit at room temperature for a few minutes before shaping.
By perfecting your dough consistency, your cookies will bake evenly with a soft, chewy texture and rich, buttery flavor in every bite!
Baking Techniques for the Ultimate Brown Butter Cookies
Perfecting the baking process ensures your Brown Butter Chocolate Chip Cookies turn out chewy, crisp, and full of flavor. Follow these expert techniques for the best results.
1. Preheat Your Oven Properly
- Always preheat your oven to 350°F (175°C) for even baking.
- Allow at least 10–15 minutes for the oven to fully reach the right temperature before baking.
2. Use the Right Baking Sheet
- Light-colored baking sheets help cookies bake evenly without over-browning.
- Avoid dark pans, as they absorb more heat and may cause overcooked bottoms.
- Line the baking sheet with parchment paper or a silicone baking mat for easy cleanup and even browning.
3. Scoop Dough Evenly for Uniform Cookies
- Use a cookie scoop to portion dough evenly, ensuring all cookies bake at the same rate.
- Space dough balls about 2 inches apart to allow for spreading.
4. Bake in the Center Rack
- Always place the baking sheet on the middle oven rack for even heat circulation.
- Avoid overcrowding the oven to ensure consistent baking.
5. Monitor Bake Time Closely
- Bake for 10–12 minutes or until the edges are golden brown, but the centers look slightly underbaked.
- Cookies will continue to firm up as they cool, so don’t overbake!
6. Cool Cookies the Right Way
- Let cookies sit on the baking sheet for 5 minutes after removing them from the oven.
- Transfer to a wire rack to cool completely—this prevents sogginess and keeps the centers soft.
7. Add Finishing Touches
- For a bakery-style look, press extra chocolate chips or chunks into the cookies immediately after baking.
- Sprinkle with a pinch of flaky sea salt to enhance the flavors.
By using these baking techniques, you’ll achieve perfectly golden, chewy, and flavorful Brown Butter Chocolate Chip Cookies every time!
Related Recipes
Bagel with Cream Cheese: A Breakfast Classic – If suggesting these cookies as a sweet breakfast treat.
Avocado Toast Seasoning: Elevate Your Breakfast Flavor – If discussing sweet and savory pairings.
Mini Pancakes Recipe: Fluffy Bites – Ideal for a section on mini desserts or bite-sized treats.
Frequently Asked Questions
1. Why should I use brown butter in cookies?
Brown butter enhances the cookies with a deep, nutty, and caramel-like flavor, making them richer and more flavorful than regular butter.
2. Can I make the dough ahead of time?
Yes! The dough can be chilled for up to 24–48 hours before baking. This enhances the flavor and results in a thicker, chewier cookie.
3. Why did my cookies spread too much?
Cookies may spread too much if:
- The dough was too warm (chill it before baking).
- There wasn’t enough flour (add 1–2 extra tablespoons if needed).
- The baking sheet was too hot from a previous batch.
4. How do I make my cookies softer and chewier?
- Use more brown sugar than white sugar.
- Chill the dough for at least 30 minutes.
- Slightly underbake them and let them finish setting on the tray.
1 thought on “Brown Butter Chocolate Chip Cookies That Melt in Your Mouth”