
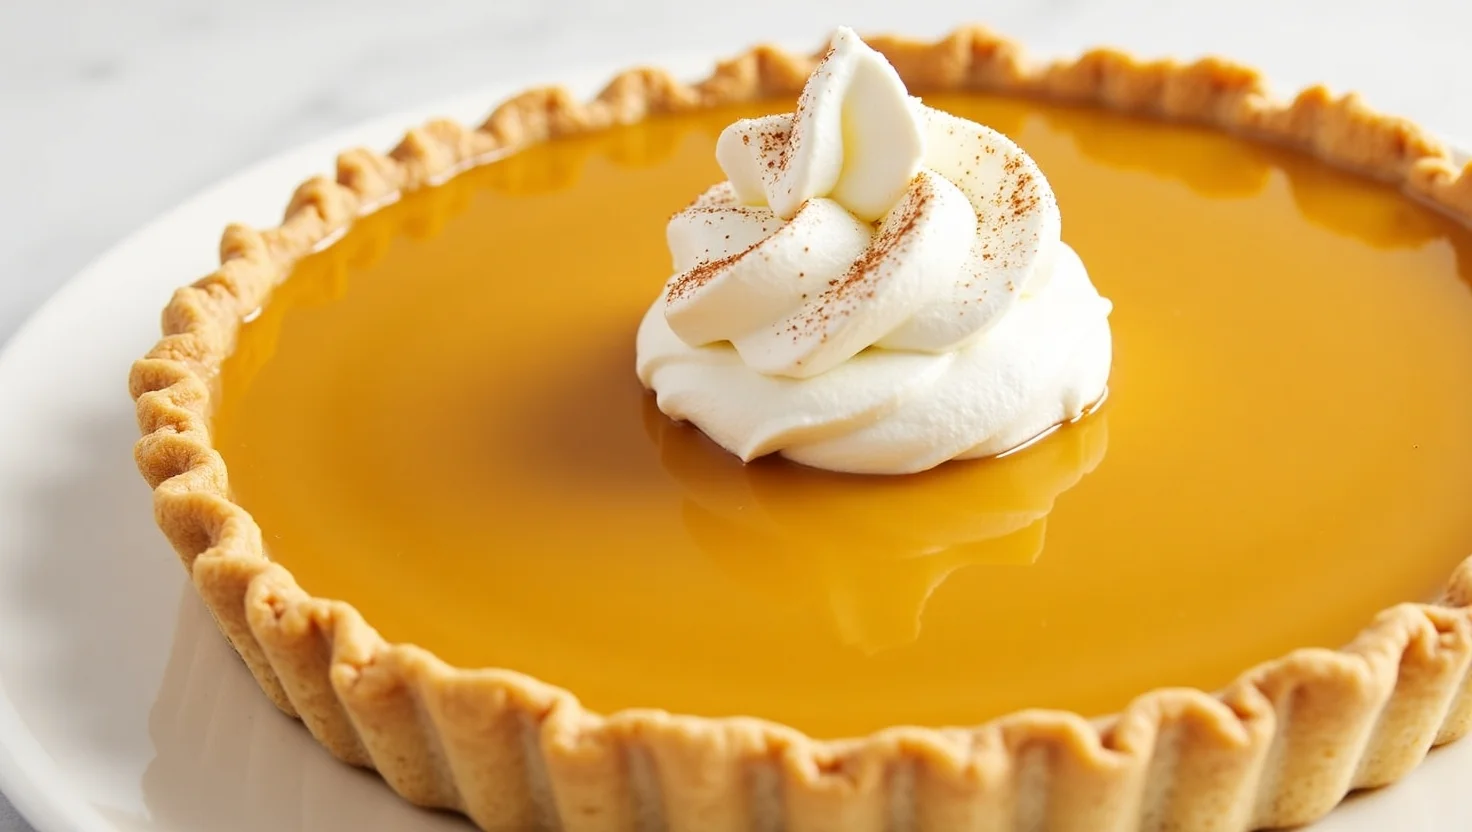
Butterscotch Pie is a rich, indulgent dessert that combines a smooth, creamy butterscotch filling with a perfectly crisp pie crust. This classic treat brings together the sweet, buttery flavors of butterscotch in a velvety filling that’s both comforting and decadent. Whether you’re looking for a show-stopping dessert for a special occasion or a sweet ending to a family dinner, Butterscotch Pie is sure to satisfy your cravings. Its irresistible taste and texture make it a favorite among dessert lovers of all ages.
Why You’ll Love This Recipe
You’ll love this Butterscotch Pie recipe because it’s the perfect balance of sweetness and creaminess, with a rich butterscotch flavor that melts in your mouth. The velvety filling is made from simple ingredients, yet it delivers a decadent taste that feels like a special treat. With a buttery, flaky crust that complements the smooth filling, this pie is both satisfying and indulgent. It’s easy to make, making it a great option for both beginners and seasoned bakers alike. Plus, it’s a crowd-pleaser that will leave everyone coming back for more!
Ingredients You’ll Need
Here are the ingredients you’ll need to make Butterscotch Pie:
- 1 pre-baked pie crust (or homemade, if preferred)
- 1 cup packed brown sugar
- 1/4 cup cornstarch
- 1/4 teaspoon salt
- 2 3/4 cups whole milk
- 4 large egg yolks
- 2 tablespoons unsalted butter
- 1 teaspoon vanilla extract
- 1/2 teaspoon butterscotch flavoring (optional, for extra flavor depth)
- Whipped cream (for topping, optional)
These simple ingredients come together to create a creamy, rich pie that will impress everyone at the table!
Step-by-Step Instructions
- Prepare the Pie Crust: If you’re using a pre-made pie crust, follow the instructions to bake it according to the package directions. If you’re making a homemade crust, roll it out, place it in a pie pan, and bake it until golden. Let it cool completely.
- Make the Butterscotch Filling: In a medium saucepan, combine the brown sugar, cornstarch, and salt. Whisk them together until well mixed. Gradually add the milk while whisking to ensure no lumps form.
- Cook the Mixture: Place the saucepan over medium heat and bring the mixture to a simmer. Stir constantly to prevent the filling from sticking to the bottom. Once the mixture thickens and begins to bubble, continue stirring for another 2 minutes.
- Temper the Egg Yolks: In a separate bowl, whisk the egg yolks. Slowly pour a small amount of the hot milk mixture into the yolks while whisking constantly. This step helps prevent the eggs from scrambling. Once the yolks are tempered, pour the yolk mixture back into the saucepan, stirring constantly.
- Finish the Filling: Keep cooking the filling for an additional 2-3 minutes, or until it becomes thick and creamy. Remove the saucepan from heat, then stir in the butter and vanilla extract until fully combined. For an extra depth of flavor, you can add butterscotch flavoring at this point.
- Assemble the Pie: Pour the butterscotch filling into the cooled pie crust. Smooth the top with a spatula.
- Chill the Pie: Let the pie cool to room temperature, then place it in the refrigerator for at least 3 hours or until fully set.
- Serve: Before serving, top with a generous amount of whipped cream. Slice, serve, and enjoy the rich, creamy goodness of homemade Butterscotch Pie!
This simple, step-by-step process will result in a delicious dessert that everyone will love!
Tips for Best Results
- Use Fresh Ingredients: Fresh eggs and quality milk can make a big difference in the taste and texture of your Butterscotch Pie. Always use whole milk for the creamiest filling, and opt for fresh, unsalted butter for a smoother result.
- Don’t Rush the Cooking Process: When making the butterscotch filling, be patient and stir constantly. It may take some time for the mixture to thicken, but rushing it can lead to lumps or a gritty texture. Make sure the mixture reaches a gentle simmer and continues to thicken before adding the egg yolks.
- Tempering the Eggs: To avoid scrambling the egg yolks, always temper them with a small amount of the hot mixture before adding them back into the saucepan. This step ensures a smooth, velvety texture for the filling.
- Chill the Pie Properly: For the best results, let the pie cool at room temperature before placing it in the refrigerator. Chilling the pie for several hours, or even overnight, will allow the filling to set properly and prevent it from being too runny when sliced.
- Add Butterscotch Flavoring: If you love a more intense butterscotch flavor, consider adding a few drops of butterscotch extract or flavoring to the filling. This can elevate the taste, giving it a deeper and more authentic butterscotch profile.
- Use a Flaky, Pre-Baked Crust: To avoid a soggy bottom, use a pre-baked pie crust that’s crisp and golden. You can use a store-bought crust or make your own. Make sure it’s completely cooled before adding the filling.
- Topping with Whipped Cream: A dollop of freshly whipped cream not only adds an extra layer of flavor, but it also complements the richness of the butterscotch filling perfectly. For extra flavor, you can add a touch of vanilla or cinnamon to the cream.
By following these tips, you’ll achieve a perfectly creamy, smooth, and delicious Butterscotch Pie every time!

Common Mistakes to Avoid
- Not Stirring Constantly: When cooking the butterscotch filling, it’s essential to stir constantly to prevent the mixture from burning or forming lumps. Leaving the filling unattended or stirring infrequently can lead to a gritty texture and uneven consistency.
- Rushing the Thickening Process: If you try to rush the thickening process of the filling, the mixture can become uneven and lumpy. It’s important to let it simmer gently and cook long enough to thicken properly before adding the egg yolks. Patience is key to achieving that smooth, creamy consistency.
- Not Tempering the Eggs Properly: Tempering the egg yolks is crucial to prevent them from scrambling when added to the hot mixture. Always pour a small amount of the hot filling into the yolks gradually while whisking constantly before adding them back to the saucepan. Skipping this step can result in a pie with curdled eggs.
- Using Cold Ingredients: Cold ingredients like eggs or milk can cause the filling to seize up and become lumpy. It’s a good idea to bring the eggs and milk to room temperature before starting the recipe to ensure the mixture blends together smoothly.
- Under- or Overbaking the Pie Crust: If your pie crust is not baked long enough, it may become soggy when the filling is added. On the other hand, overbaking can lead to a hard, brittle crust. Follow the baking instructions carefully and make sure the crust is golden brown before filling it.
- Not Chilling the Pie Long Enough: While it can be tempting to serve the pie right away, it’s essential to let it chill for at least a few hours or overnight. This gives the filling time to set, making it easier to slice and ensuring the perfect texture.
- Forgetting the Whipped Cream: While not a deal-breaker, skipping the whipped cream topping can make the pie feel incomplete. The airy, sweet cream contrasts beautifully with the rich butterscotch filling and enhances the overall flavor.
Serving Suggestions
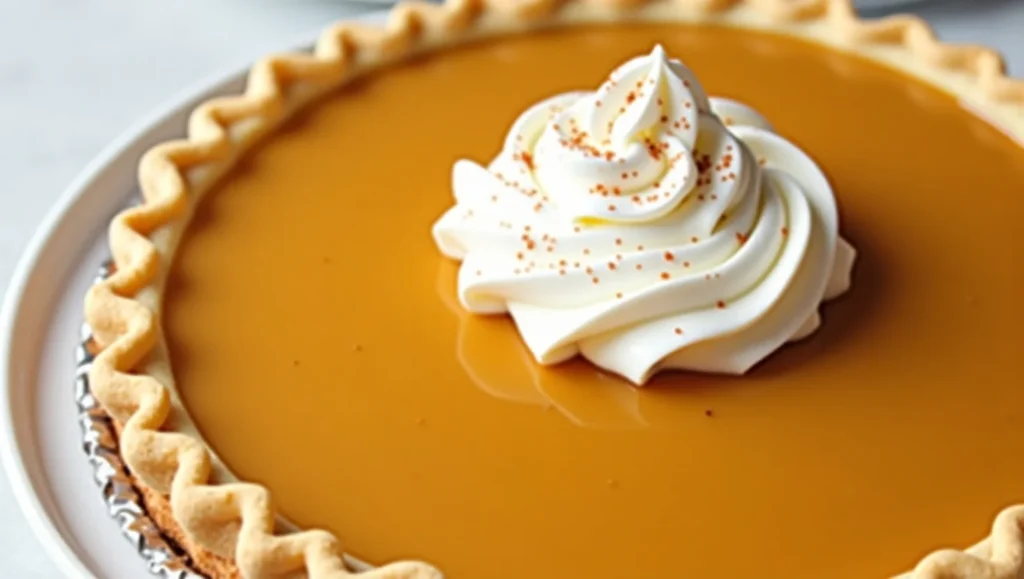
- Top with Whipped Cream: A classic way to serve Butterscotch Pie is with a generous dollop of freshly whipped cream on top. You can sweeten the cream lightly with powdered sugar or add a splash of vanilla extract for extra flavor. The airy texture of whipped cream complements the rich, creamy butterscotch filling perfectly.
- Add a Sprinkle of Cinnamon or Nutmeg: For a warm, spiced twist, lightly dust the top of your Butterscotch Pie with ground cinnamon or nutmeg. This adds an extra layer of flavor that pairs wonderfully with the sweetness of the pie, giving it a cozy, comforting feel.
- Serve with Ice Cream: A scoop of vanilla or caramel ice cream is a delightful accompaniment to Butterscotch Pie. The cold ice cream contrasts beautifully with the creamy, slightly warm pie, creating a perfect balance of temperatures and textures.
- Pair with Fresh Fruit: To add a refreshing element to the dessert, consider serving the pie with a side of fresh fruit, such as sliced strawberries, raspberries, or even a mix of berries. The tartness of the fruit helps cut through the richness of the butterscotch, offering a well-rounded flavor experience.
- Drizzle with Caramel Sauce: Enhance the butterscotch flavor by drizzling a little caramel sauce over the pie or around the plate. This extra touch brings out the sweet, buttery essence of the pie and gives it a beautiful glossy finish.
- Serve with Coffee or Tea: Butterscotch Pie pairs wonderfully with a cup of coffee or tea. A mild, slightly bitter coffee or a comforting tea, like chai or earl grey, will balance out the sweetness of the pie and create a delightful after-dinner treat.
- Individual Portions: For a more elegant presentation, serve the Butterscotch Pie in individual portions. This makes for a nice presentation at parties or gatherings, allowing guests to enjoy their own slice with their favorite toppings.
These serving suggestions can elevate your Butterscotch Pie and make it even more enjoyable for your guests.
Storage and Reheating Tips
- Storage: To store Butterscotch Pie, cover it loosely with plastic wrap or aluminum foil and place it in the refrigerator. The pie will stay fresh for up to 3 to 4 days. Make sure the pie is completely cooled before storing it to prevent moisture buildup, which can affect the texture of the filling.
- Avoid Freezing: While Butterscotch Pie is delicious when fresh, freezing it is not recommended. The creamy filling may separate and become watery upon thawing, resulting in a less desirable texture. For the best taste and texture, it’s best enjoyed within a few days of making it.
- Keeping the Crust Crisp: To help maintain the crispness of the crust, you can store the pie with the crust facing up, rather than down. This prevents the filling from sogging up the bottom of the pie. However, if you’re storing leftover pie slices, the crust may still soften slightly, but it should still be tasty.
- Reheating the Pie: Butterscotch Pie is best served chilled, but if you prefer it warm, you can gently reheat individual slices. Preheat your oven to 300°F (150°C), then place the pie or slices on a baking sheet. Cover the pie with aluminum foil to prevent the filling from drying out, and heat it for about 10 to 15 minutes. Avoid using a microwave to reheat the entire pie, as it can cause the filling to become runny.
- Serving Cold: If you prefer the pie cold, simply remove it from the refrigerator about 15 to 20 minutes before serving. This will allow the flavors to intensify slightly, while still maintaining its creamy texture.
By following these storage and reheating tips, you can enjoy your Butterscotch Pie at its best, whether it’s fresh or leftover!
Variations and Substitutions
Gluten-Free Pie Crust: If you’re looking for a gluten-free option, you can substitute the regular pie crust with a gluten-free pie crust. Many stores offer pre-made gluten-free crusts, or you can make your own using gluten-free flour blends.
Dairy-Free Option: For a dairy-free version, replace the butter with dairy-free margarine or coconut oil, and use a plant-based milk such as almond milk, coconut milk, or oat milk. Be sure to check the ingredients in the pie crust to ensure it’s dairy-free as well.
Add a Layer of Chocolate: To elevate the flavor of your Butterscotch Pie, consider adding a layer of chocolate ganache at the bottom of the crust before pouring in the butterscotch filling. The combination of rich chocolate and butterscotch is irresistible!
Nutty Crust: For added texture and flavor, you can create a nut-based crust. Use crushed graham crackers mixed with finely chopped nuts like pecans or walnuts, along with a little melted butter. This adds a lovely crunch to your pie and complements the creaminess of the filling.
Salted Butterscotch Pie: For a salted twist, you can sprinkle a pinch of sea salt over the filling or mix it into the butterscotch filling itself. This enhances the sweetness and adds a savory balance, creating a sweet-and-salty flavor profile.
Coconut Butterscotch Pie: If you’re a fan of coconut, you can add shredded coconut to the butterscotch filling or sprinkle it on top of the whipped cream. The coconut flavor adds a tropical twist that pairs beautifully with the buttery sweetness of the pie.
Butterscotch Pudding Version: If you want to skip the pie crust entirely, you can make a butterscotch pudding by simply preparing the filling and serving it in individual cups. Top with whipped cream or a drizzle of caramel for a delicious alternative.
Spiced Butterscotch Pie: Add ground cinnamon, nutmeg, or even a dash of ginger to the butterscotch filling for a spiced variation. These spices give the pie a cozy, autumnal flavor that works beautifully in cooler months.
Related Recipes
Favorite Pound Cake Recipe – Ultimate Guide
- Anchor Text Suggestion: “Looking for another classic dessert? Try this ultimate pound cake recipe.”
Brown Butter Chocolate Chip Cookies – Soft & Chewy
- Anchor Text Suggestion: “For a rich and nutty flavor, check out these brown butter chocolate chip cookies.”
French Onion Dip – Homemade Recipe
- Anchor Text Suggestion: “Pair your sweet dessert with a savory snack like this homemade French onion dip.”
Frequently Asked Questions
Can I make Butterscotch Pie ahead of time?
Yes, Butterscotch Pie can be made ahead of time. It’s best to chill it for at least 3 hours or overnight to ensure the filling sets properly. The pie will stay fresh in the refrigerator for up to 3 to 4 days.
Can I freeze Butterscotch Pie?
It’s not recommended to freeze Butterscotch Pie. Freezing can cause the filling to separate and become watery upon thawing. For the best taste and texture, it’s best enjoyed within a few days of making it.
Can I use a store-bought pie crust?
Yes, you can use a store-bought pie crust to save time. Just make sure to bake it according to the package directions and allow it to cool completely before filling.